Promotion
This documetnation is prepared for Promotion Manager v1.0.0
Installation
- To perform installation of Lagom Extension, please fallow steps described in extension installation instruction.
Activation
- Login to your WHMCS admin area.
- Go to "Addons" → "RSThemes".
- Open
Extensionstab. - Click
Managenext toPromotion Manager. - Click
Activate. - After first activation, extension will automatically detect and load all WHMCS MarketConnect products banners which are active. Since now one, you are able to modify content of product banners, form this extension.
Promotion Management
Promotion Settings
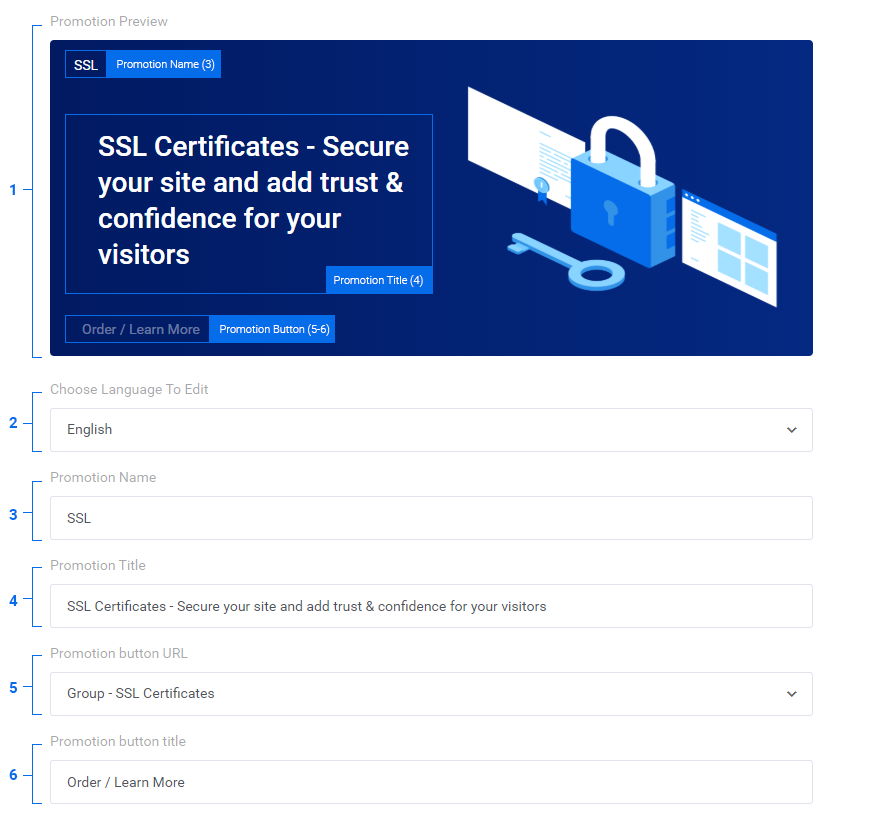
1. Promotion preview - shows real preview of the banner.
2. Choose language to edit - allows you to choose language in which below content will be customized.
3. Promotion name - name of the navigation element, at the top of the banner.
4. Promotion title - the main title of the banner.
5. Promotion button url - choose to which product, or product group promotion button should be linked.
6. Promotion button title - text shown in the button.
Homepage Settings
This sections shows only if you activate the "Homepage" option in "Promotion Placement" widget.
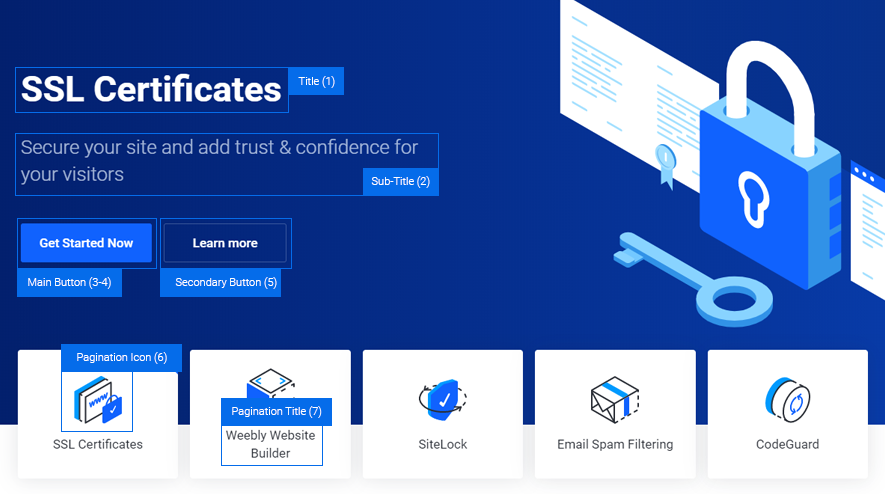
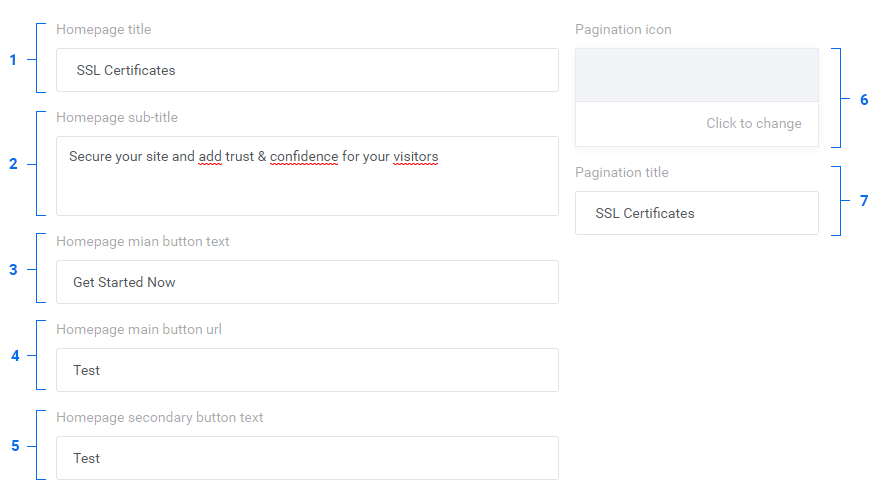
1. Homepage title - main title of the homepage slide.
2. Homepage sub-title - description below the main homepage title.
3. Homepage main button text - text shown in the main button.
4. Homepage main button url - url of the main button.
5. Homepage secondary button url - text shown in the secondary button, url is the same as configured in "Promotion Settings - step 5".
6. Pagination icon - Choose icon from the media manager.
7. Pagination title - title shown below pagination icon.
Publish Settings

1. Starting and Due Date - Choose starting and end date of your promotion.
2. Status - choose whether you want this promotion to be visible for your customers.
Slide Configuration
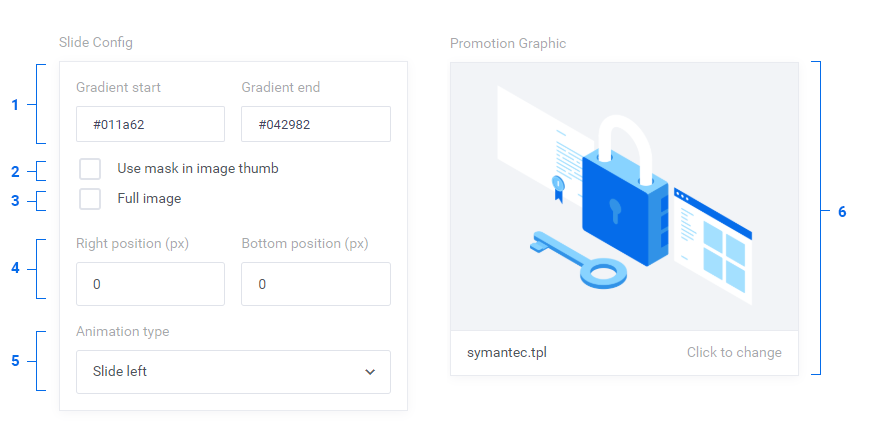
1. Gradient start - end - Choose gradient color promotion banners background. YOu can use color picker, or enter the HEX code manually.
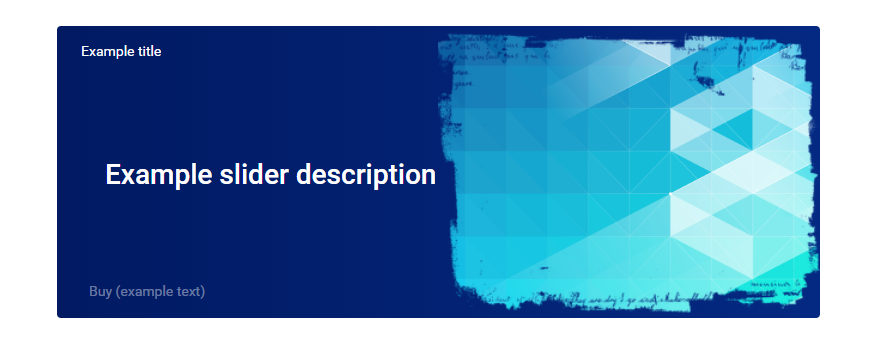
2. Use mask in image - you can use predefined image mask, see example below:
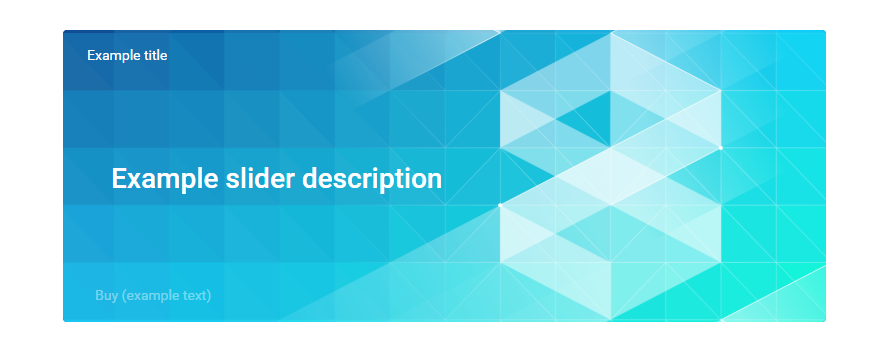
3. Full image - strech selected image on the full height and width of the promotion banner, see example below:
4. Position - allows to set different graphic position
5. Animation type - "slide left" animation is default for our pre-made illustration, if you are using full graphics we suggest to use "fade" animation.
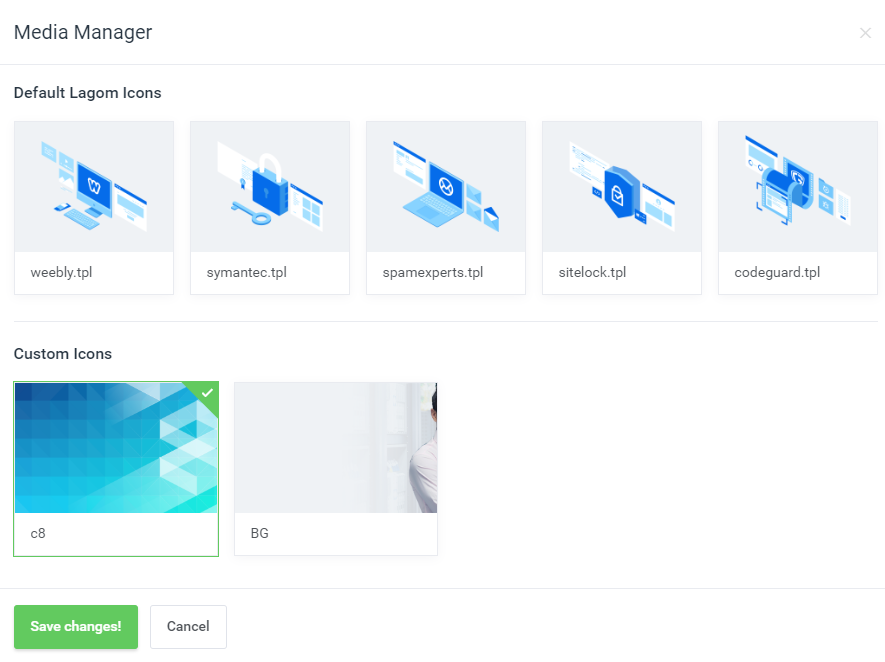
6. Promotion Graphic - here you can see preview of selected image, which will show in the promotion banners. When you click on the "Click to change" button, you will open a modal, where you could choose different graphics, previously uploaded in media manager
Promotion Placement
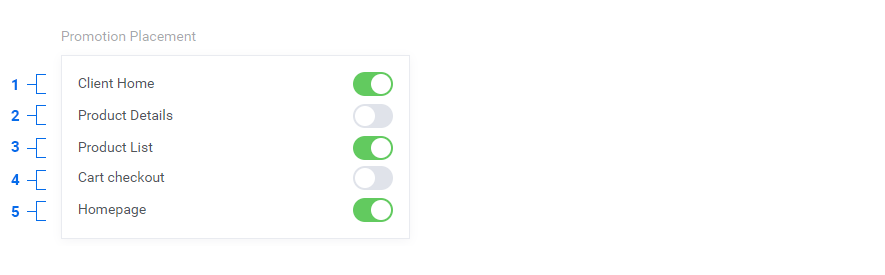
1. Client Home - show promotion on the clientarea dashboard page.
2. Product Details - show promotion on the product management page.
3. Product List - show promotion on the product list page.
4. Cart Checkout - show promotion on last order step.
5. Homepage - show banner on the hompeage (available only for modern template). This option will show additional configuration options descibed in Homepage Settings section.
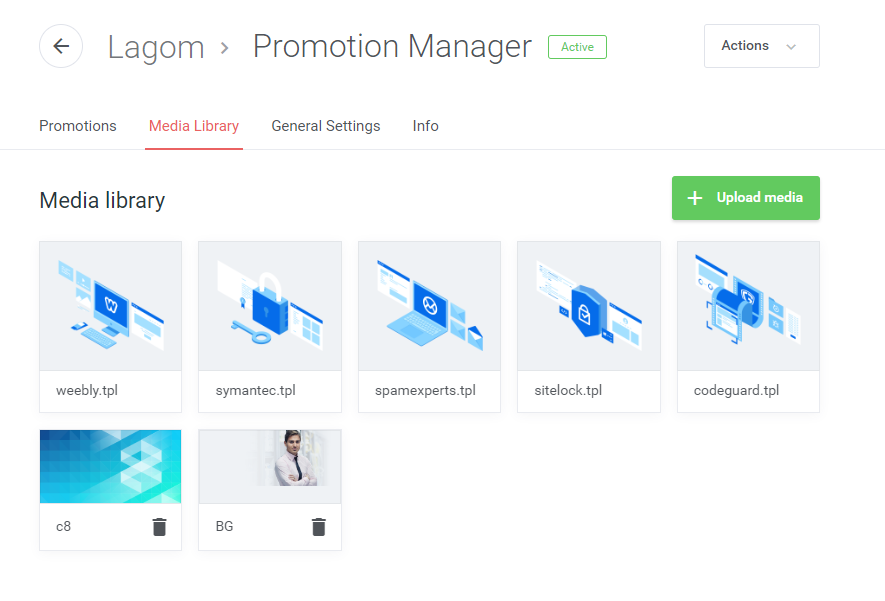
Media Library
Our extensions allows you to upload your own graphics, and then use them in specific promotions, ase described in slide configuration section.
General Settings
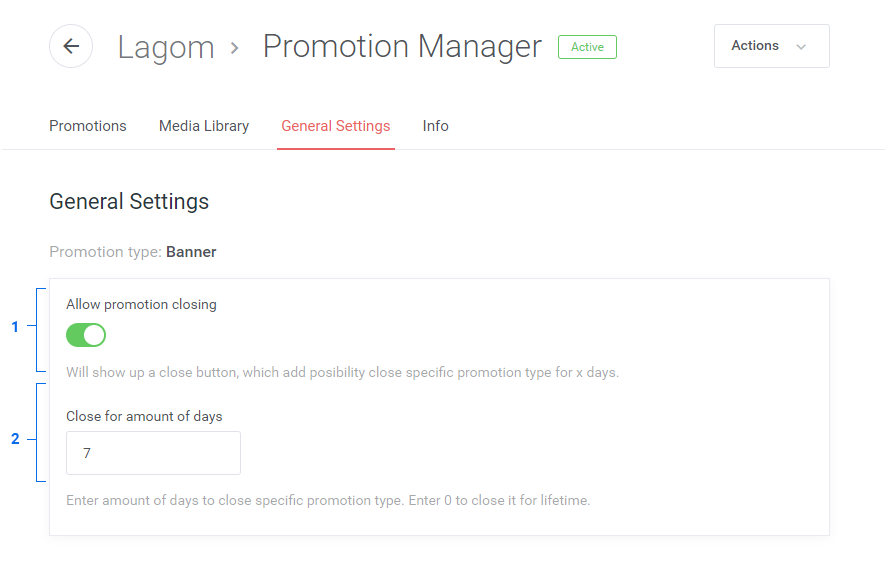
1. Allow promotion closing - choose whether you want to allow closing of the promotion banners.
2. Close for amount of days - choose how much days closing selection should be stored in browser cookie.