Installation
Before Start
Plese make sure that theme version, which you are trying to install is compatible with your WHMCS installation!
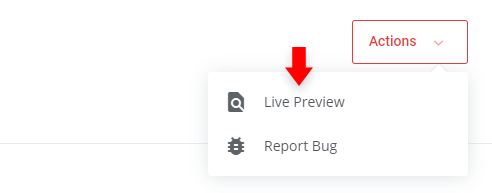
We suggest testing our template on your environment, before activating it for all your clients. Each environment is different, so some problems may occur. You can preview your installed theme by clicking the below marked button in our addon.
Download Files
Log in to your Client Portal
Go to "My Products"
Choose Lagom WHMCS Theme license from product list, and go to management page, in most cases it's "Single Domain" product.
Upload Files
Download latest theme release and extract downloaded .zip file.

In extracted folder you'll find
php71+folder and link to documentation.

Open
php71+folder, and upload it's content into main directory of your WHMCS serer.
Activate Addon
Login into your WHMCS admin area.
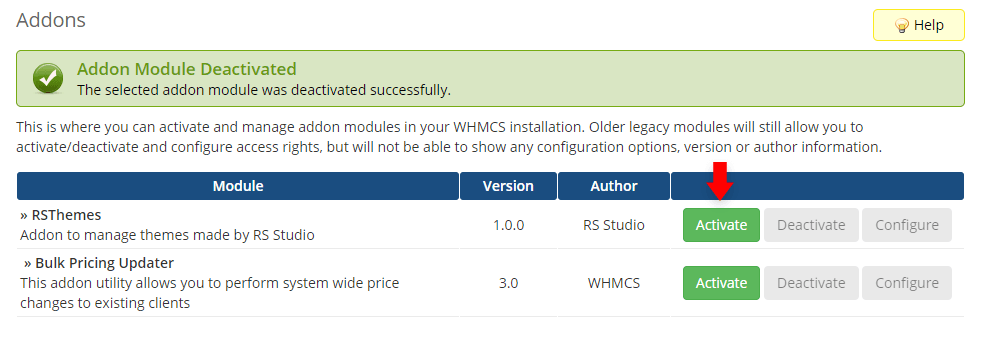
Go to: Setup > Addon Modules.
Activate “RSThemes” addon:
Press the configuration button and select admin role groups to grant access according to your needs, save the configuration:

Activate Client Area Theme
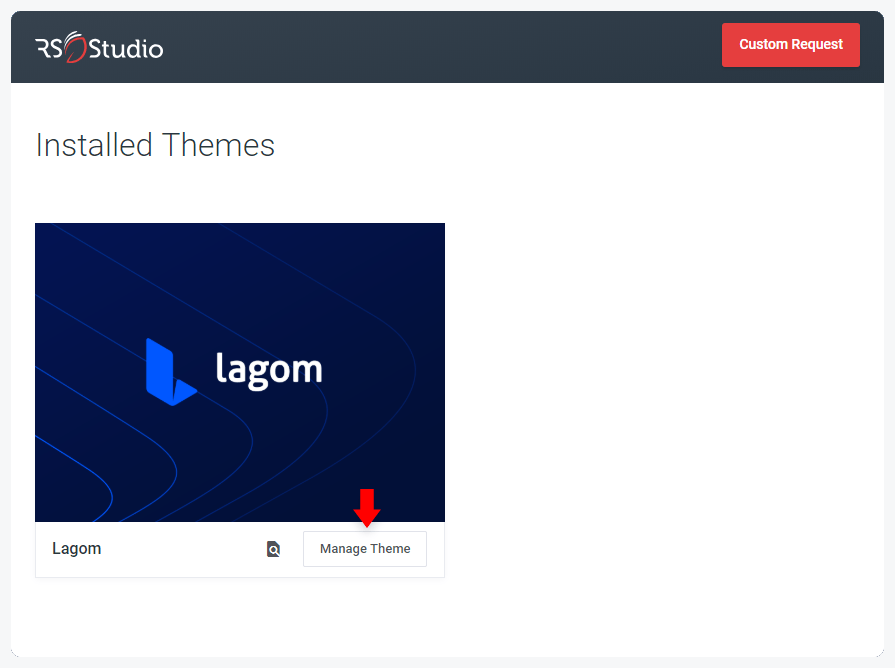
Go to: Addons > RSThemes
The theme will be visible in the addon. Press “Manage Theme” to begin.
Go to your client portal
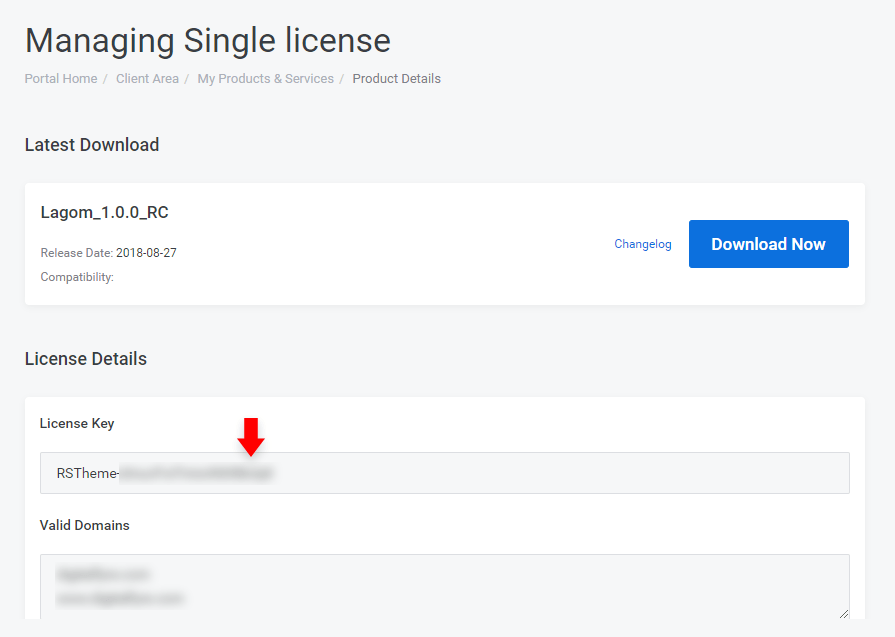
Copy the theme license key that you can find at the product details page:
Move to the theme management addon in your WHMCS and paste the copied license key here, save the changes:

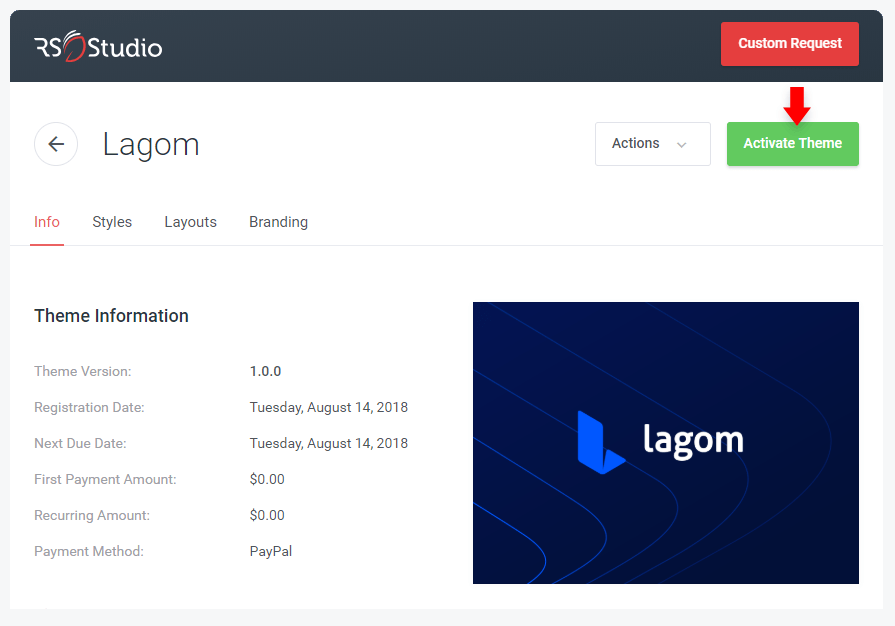
Activate the theme (do not perform this step, if you want only to test this theme, without activating it to all your clients)
Activate Order Theme
Go to: Setup > General Settings > Ordering
Choose "Lagom" theme, and click "Save Changes"
Be sure that all your product groups, has "Use System Default" option checked in product group settings.